Custom Elements (also known as Web Components) are a great way of writing reusable and testable code. They allow you to define a new HTML tag, which has Javascript associated with it. If you have used React or Vue before, then these will feel familiar to Components in those libraries. Custom Elements will also be easy to pick up if you are familiar with Angular directives.
Where can I use one?
Let’s take the simple case of a messaging app, and consider what the markup for a two simple text messages might look like.
<div class="messages">
  <div class="message other">
    <img class="profile-photo" src="https://via.placeholder.com/32x32">
    <div class="author">Harry</div>
    <div class="message-text">Hey, how are you?</div>
    <time>17:04</time>
  </div>

  <div class="message self">
    <img class="profile-photo" src="https://via.placeholder.com/32x32">
    <div class="author">Me</div>
    <div class="message-text">I'm good, thanks for asking.</div>
    <time>17:05</time>
  </div>
</div>
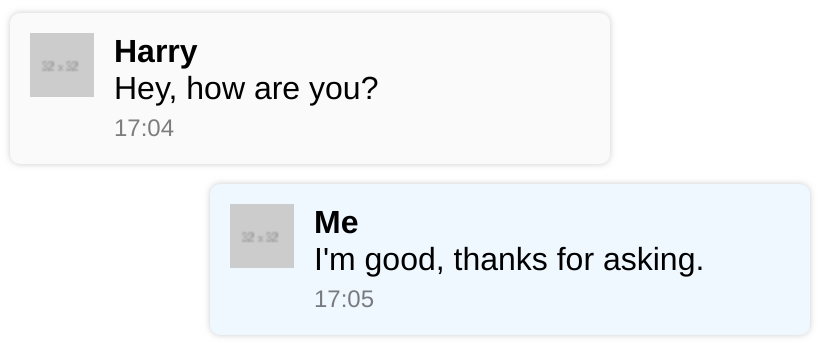
The result (with a bit of extra CSS) is above. Even in just two simple messages, there is a lot of repetition of HTML. Imagine 50 messages, or other things you may need to handle in a messaging app, such as images, audio. This can quickly get complex and very repetitive. Let’s recreate this with a Web Component.
Custom message element
We want to be able to define our message as its own component. A custom element must contain a dash, so let’s call it custom-message. Each piece of data relevant to the message will be passed in as an attribute, so we can replace our HTML above with something like this.
<div class="messages">
  <custom-message
    author="Harry"
    profile-photo="https://via.placeholder.com/32x32"
    message-text="Hey, how are you?"
    time="17:05"></custom-message>

  <custom-message
    author="Me"
    profile-photo="https://via.placeholder.com/32x32"
    message-text="I'm good, thanks for asking."
    time="17:05"></custom-message>
</div>
To actually make custom-message into a Custom Element, and not just a random HTML tag, we use Javascript. The customElements.define function is used to do this, taking two arguments - the name of the element (and the tag), and the class which will define its functionality.
Inside the class’s constructor, we set up the basic HTML, from the template which we define using an ES6 backtick string. You can also use a <template> element from HTML, but I personally prefer having the entire component’s definition in one file.
The attributeChangedCallback is the most important part of our custom element. Here we can detect changes to our element’s attributes, and make changes accordingly. It is important to realise that you must define a observedAttributes getter, returning an array of attribute names which you want to watch for changes.
Finally, we register this class as a custom element. Once it is registered, any use of a <custom-message> tag in our HTML will have our CustomMessage class attached to it.
// This template could also be stored in HTML as a `<template>`
const TEMPLATE = `
<div class="message">
  <img class="profile-photo">
  <div class="author"></div>
  <div class="message-text"></div>
  <time></time>
</div>
`;

// The class extends `HTMLElement`, but actually it could extend any element, such as `HTMLImageElement`
class CustomMessage extends HTMLElement {
  constructor() {
    super();
    this.innerHTML = TEMPLATE;
  }

  // Whenever an attibute is changed, this function is called. A switch statement is a good way to handle the various attributes.
  // Note that this also gets called the first time the attribute is set, so we do not need any special initialisation code.
  attributeChangedCallback(name, oldValue, newValue) {
    switch(name) {
      case 'author':
        this.querySelector('.author').innerText = newValue;
        this.querySelector('.message').classList.toggle('self', newValue === 'Me');
        break;
      case 'profile-photo':
        this.querySelector('.profile-photo').setAttribute('src', newValue);
        break;
      case 'message-text':
        this.querySelector('.message-text').innerText = newValue;
        break;
      case 'time':
        this.querySelector('time').innerText = newValue;
        break;
    }
  }

  // We need to specify which attributes will be watched for changes. If an attribute is not included here, attributeChangedCallback will never be called for it
  static get observedAttributes() {
    return ['author', 'profile-photo', 'message-text', 'time'];
  }
}

// Now that our class is defined, we can register it
customElements.define('custom-message', CustomMessage);
Take a look at the Codepen Demo to see it in action. The result is the same as without Web Components, but with a lot less repeated HTML.
Browser Support
As of this writing, Custom Elements are supported in Chrome and Safari, with Firefox support on the way soon. Can I Use has a great breakdown of support.
More with Custom Elements
This post is the first part in a series on Custom Elements. See the others about encapsulation using the Shadow DOM, and increased flexbility with Slots.